
A Quick Tutorial on Assembly.
So you’ve ordered movement trays from our online store and the order came in and you need to get them assembled. What’s the best way to put them together? This post will be a quick tutorial which will walk you through just that. You’ll need the following to get started:
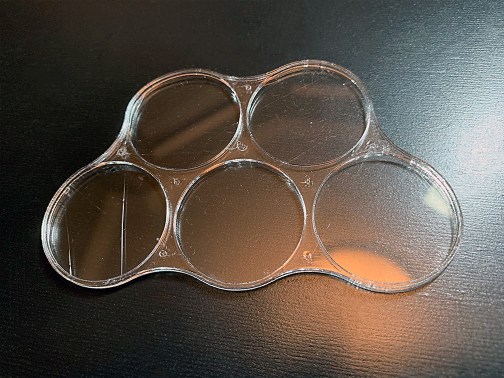
- Movement Trays
- G-S Hypo Cement*
- X-Acto Knife (optional)
- Microfiber Cloth (optional)
- Isopropyl Alcohol (optional)
- Gloomhaven**
* – G-S Hypo Cement is by far the best adhesive to assemble clear acrylic. It works great for cockpit canopies (like on the Stormraven) as it dries fast and won’t frost. We’ve looked into carrying G-S Hypo Cement in our online store, but we can’t offer it close to the price offered on Amazon and their shipping is crazy fast with Amazon Prime. Other glues do work, but this cement makes it so much easier and it’s under $10. Save yourself a headache and just order it from Amazon.
** – You can substitute anything heavy for Gloomhaven, but Gloomhaven is both an amazing game and heavy so pick it up!

Step 1: If you purchased our trays through retail, they’ll come with this spiffy packaging above. If you order them online, they ship in a flat rate priority in bubblewrap. First, we need to remove the protective film. All acrylic items ship with a film to protect the sheets from getting scratched during shipping. We opted for a clear blue plastic which is easy to remove. You can use an X-Acto knife to get it started, but a fingernail works as well. Once removed make sure to clean off any debris or fingerprints. A microfiber cloth and a bit of alcohol work best, but I typically just use my shirt.
NOTE: Depending on the type of acrylic sheets available at our manufacturer, your trays might ship with brown paper instead of blue plastic protective film. The paper offers more protection, but it is a bit harder to remove. I’d recommend using an X-Acto knife.


Step 2: Using the G-S Hypo Cement, put a small dot at each intersection point of the 3 circles. Also, place a VERY small amount on the outer rim of the movement tray. Just dab the tip of the applicator around the edge in few points without squeezing. You’ll see some stringing between various application points. We’ll deal with this later. Don’t worry about it.

Step 3: Align the trays and squeeze. The cement will begin to hold almost instantly. Just give it a few seconds. For the stringing glue, just rub it off with your finger. You shouldn’t have any excess glue squeezing out from between the trays, but if you do, clean that up now. Again I just use my finger.
Note: If you are assembling an asymmetrical tray (like our 10 model trays) make sure you glue all of the tops on in the same orientation. Don’t be like me and have a single tray different from all of the rest.
Step 4: Place something heavy on top of your tray and let it sit for about 10-15 minutes. I’m using Gloomhaven, but anything relatively heavy–like a Core Rulebook and a couple Battletomes or Codexes–will work fine.

Step 5: All done! Relish how easy it is to move your troops across the battlefield. If you play with a gaming mat, troops not only slide easily, they’ll look great too.

If there are any questions, I opened up this post for commenting and you can drop your comments below. As always, happy wargaming!